
At this time of year, we all seem to get the planting bug.
We just can’t wait to get outside and start putting new plants into the ground or into containers, or to start transplanting existing plants in our gardens.
Although planting seems like a straight-forward task for experienced gardeners, from my years of working at a garden centre, I would say the reason many plants do not survive the first season is because of improper planting. Here are a few helpful tips to help you be even more successful.
First, when planting new trees and shrubs, you need to amend the soil. Last week, I wrote about the importance of improving your soil conditions before planting anything.
The success of your garden, especially new plantings, is dependent on the condition of your soil. Remember: “If you feed your soil, your soil will feed your plants.”
I often am asked, “When is the best time to improve your soil?” When planting anything, any time you can amend your soil is a good time. Amending the soil means that you need to improve your existing soil by adding organic matter, such as compost or composted manure. This helps by adding nutrients, upgrading soil structure and by improving drainage. Always mix some of your existing soil with the amendments.
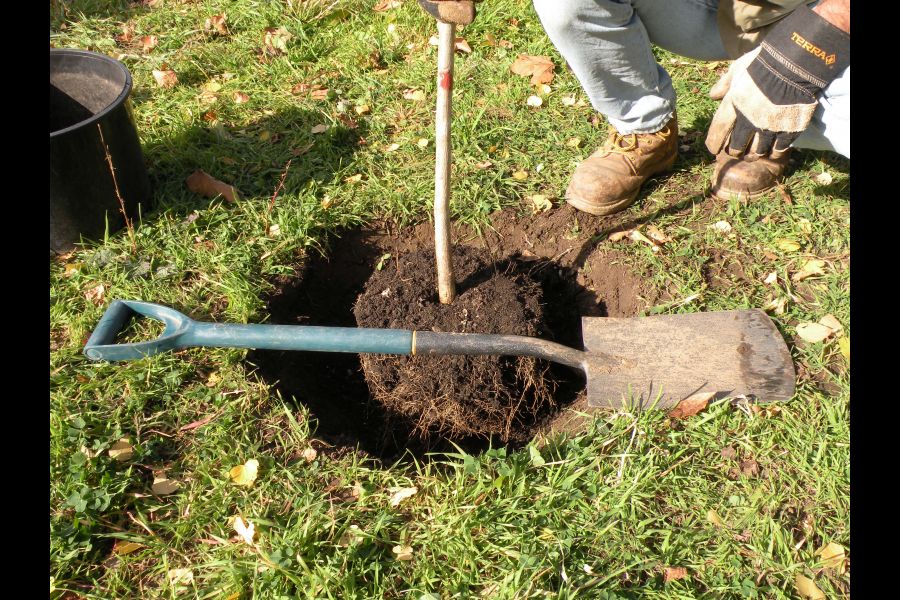
After planting new trees and shrubs, the first thing the plant will do is to send out roots horizontally and start to get established. So, it is important that the planting hole encourages as much root growth as quickly as possible.
Dig the planting hole at least twice as wide as the root ball and just a couple inches deeper than the root ball. Place a couple inches of amended soil mix at the bottom of the hole to the point where the top of the root ball will sit flush with the finished soil level in the bed. Putting the root ball deeper into the soil than what it was originally growing will kill most plants.
Most plants are now container grown, meaning they have been in a pot since the beginning and just transplanted into larger and larger pots along the way. Since the roots are well established in the pot, you can tap on the rim of the pot and usually the root ball will just slide out.
Because the plant has been growing in the plastic pots, the roots will be used to growing in a circular pattern. Therefore, carefully loosen the roots all around the root ball.
If the plant is root bound, with roots growing tightly around the outside of the root ball, use a knife or shears to loosen up the root mass on sides and bottom. Otherwise, the roots will continue to grow in that circular pattern and begin to choke itself.
Before placing the plant in the hole, add in an organic fertilizer that is high in phosphorus, such as bone meal. Begin filling in around the plant with the amended soil mix.
Water well before the hole is filled to remove air pockets, then water again when the planting is complete. Make sure you do not place any additional soil over the top of the original root ball.
Apply no more than two inches of mulch on top of the root ball. Be sure to keep the mulch a couple finger widths away from the base of the plant.
So just remember: always green side up and have fun planting.
Joanne Young is a Niagara-on-the-Lake garden expert and coach. See her website at joanneyoung.ca.